Acrylic Pouring is an enthralling fluid painting technique. Everyone makes mistakes, and it is nice to learn from others' experiences. This article covers some common mistakes which you can avoid when you do acrylic painting.
1. Choose the right consistency
2. Plan and Prepare Notes for future reference
- What Pouring Technique do you plan to use
- What Pouring medium do you need
- How much paints and medium do you need
Note the above before you start painting. After you have finished painting, note down the steps and the process you followed. For example, what color combination did you use, the techniques were used, mixture ratio and so on. Write everything about the observations that were made; what worked and what did not; what to
avoid and keep. Be your own critic. This will save time and
money.
3. Know the Color wheel
For starters, choosing colors can be tricky. If you choose colors that do not go together, you will end up in a muddy or unpleasant color scheme.
For example, magenta and purple look beautiful individually, but they do not look great when placed together. As they are too close to each other in the color wheel, they do not complement each other.
Hence, it is essential to understand the color wheel. Experiment with color combinations to get confidence in selecting the right colors.
4. Always have a Clean Workspace
No one wants to see drying canvas getting ruined by dust, pet hair, or lint. To avoid this, keep your entire room as clean as possible. Do regular dusting and use a vacuum cleaner to save yourself from spoiling artwork.
Protect your possessions first! Cover your paint surface with plastic sheets, garbage bags, or a painting tarp, as this is a very messy hobby. It is a good practice to cover the walls with plastic to avoid paint spatter.
One should carefully move a wet canvas from the painting surface to a drying
surface. This avoids paint dropping on the ground and sticking on the surface.
5. Work on a Level Surface

Working on a perfect level surface while doing acrylic pour painting is the key to success.
6. Add a base coat of Paint to help pour flow easy
The base coat is a layer of fluid acrylic paint, typically white before you begin the actual pour. Benefits of this coat:
1. To provide a wet smooth surface for the poured paint to move across
2. The texture of your canvas will cause the coating to stick, and the next layer of paint will roll over smoothly on top of it.
3. The silicone can damage the canvas or leave holes in your paint without the base coat.
7. Eliminate excess dripping paint
When you have completed pouring, use a stir stick or knife to wipe off excess paint. Clean the paint, which is dripping at the bottom. When you remove it, check if the paint is running off one side more than another. If yes, this is a sign that your painting is not level.
A quick fix to prevent the dried clumps of paint at the bottom is by using a painter's tape at the back of the canvas. When you move the painting to the drying surface, remove the painter's tape.
8. Do not Shake the Pouring Medium
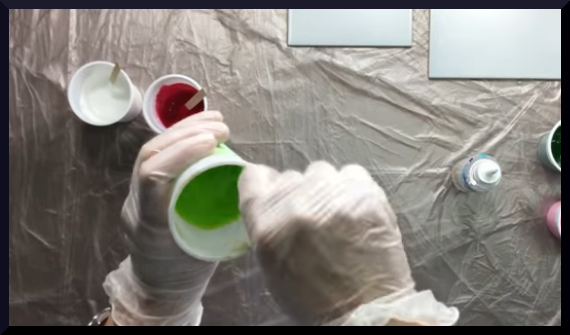
If you want to mix paint, use a craft stick. Stir slowly and softly to avoid creating bubbles.
9. Learn when to Stop Working
People ruin painting by 'one little change', 'make a little mark there', avoid doing this. If you like how your painting looks now, leave it untouched.
Be very careful about creating a change that might or might not work out. Paintings alter as they dry. Read this Acrylic Pouring Guide for Beginners to have more insight into the processes involved.
10. Use the smallest Plastic Cups
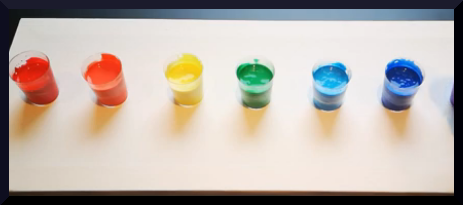
If you have little paint and a big cup, colors will mix and become muddy. Using an appropriate size cup will reduce paint wastage. It is easier to combine paint and pouring medium in smaller cups. This also helps in checking the if the paint is entirely mixed.
11. Focus on One Thing
As soon as you try acrylic pour art, you'll likely have a lot of fun that you'll be tempted to combine more colors and begin new paintings. Hold the temptation! Concentrate on one painting at a time and do not leave it incomplete.
Learn one pour technique at a time. This will help you gain confidence in the basic techniques and pouring process before trying the next pour technique.
Fluid Paintings are difficult to predict how the pattern will come until they are dry. Also, when you use a new brand of paints, medium, or other materials, results differ.
12. Maintain different size paint cup
I suggest that you keep at least three distinct sizes of cups around constantly. A small cup (4 oz or less), a medium cup (8 - 12 ounces), and a large cup (16 - 20 ounces). Every technique requires different amounts of paint.
The medium and bigger size paint cups can be squeezed a bit to make a pointed spout on one side. Always use plastic cups and not paper cups, as they tend to soak up moisture from the paint. Another advantage is plastic cups are transparent, so you also see how layers get formed when you mix different colors.
13. Use A Torch
Do you like the cells on the surface? If yes, then use a torch. A torch is used to create bubbles in or under the pour. But remember, bubbles can ruin your nice smooth finish if not done correctly.
Begin torching soon after you have poured the paint on the surface. Keep the torch about four to six inches above your canvas. Move it from one side to another horizontally to heat the surface lightly, causing cells formation.
14. Varnish your Painting
Glossy finish varnish generally enhances the colors giving a permanent enrichment to the colors.
Matte finish varnishes may soften the colors and do not give any glare.
Satin varnish finish is between glossy and matte.
15. Storing Leftover Mixed Paints
Often, you will have leftover paints, which you do not want to waste. Sure, store them in airtight silicone, plastic, or glass bottle.
Remember, the key is airtight. Many artists use silicone based plastic squeeze condiment bottles, like those for mustard or ketchup. Keep your bottles clean, and the next time you open them, you do not get any dried paint in hand.
Final Suggestion:
Continue Painting even if you haven't succeeded in the first couple of attempts!
Like anything else, this will also take time and a couple of trials and errors to get where you want. Do not leave your quest to learn and keep trying.
Enjoy the process and create beautiful art! I hope these tips and tricks help your painting process experience better and comfortable!
Happy Pouring!


