Ready to start with Acrylic Painting?
Acrylics are an excellent choice for beginners, offering ease of use, quick drying time, and affordability compared to oil paints. You can kick-start your creative exploration by starting with a few simple acrylic canvas paintings.
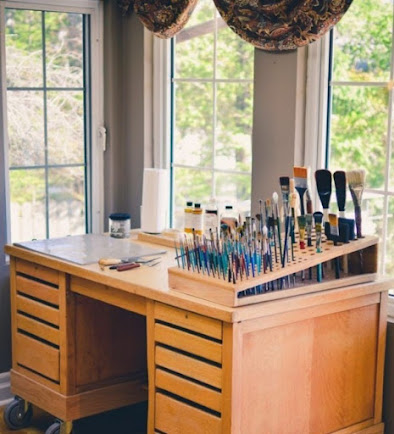
You'll need a few basic supplies to make a simple acrylic painting. Gather acrylic paints, various brushes, painting support such as canvas or gesso boards, an easel, a palette, water for cleaning brushes, and cloth rags or paper towels for cleanup. Let us first understand the painting supplies in detail.
1. Acrylic Paints
There are usually two grades of paints commonly available in the market, artist grade and student grade. Feel free to explore starter acrylic paint sets available in various brands to find the one that suits your needs. There is another higher end called professional grade, but we skip that for now.
Artist Grade:
- Artist-quality paint has a high pigment level, which gives a higher saturation color.
- High-quality ingredients(pigment and binder) give long-lasting and best-quality paints.
- Color intensity/Vibrancy is higher and maintained even after adding water/medium.
- Available in a wide range of colors
Student Grade:
- Student quality has a lower pigment load and low binder quality. Hence the paint strength is not strong when mixed with water.
- They appear dull and sometimes dark when compared to the artist's grade.
- Good for covering large areas and underpainting.
- They are cheaper and good for beginners practicing and trying new stuff.
Student grades work well for beginners. Just remember to add little white to make them opaque. White will lighten the paint, so consider employing a slightly darker paint or painting several layers to find the desired tone. There are starter collections of acrylic paint sets available in almost all brands.
2. Buy fundamental colors to start with
Start with a limited palette. Primary colors, white, black, and earthy tones such as burnt umber, are great. You can mix colors to make more colors.
Get a color wheel and learn how to combine acrylic paints to get the desired color. Color mixing adds excitement and detail to your art.
The primary colors are yellow, red, and blue. No blend of colors can produce primary colors, but primaries blend in various combinations to form the other colors. You create secondary colors (orange, green, and purple) by mixing two primary colors.
3. Painting Surface
Select a suitable painting surface for your acrylics, such as canvas, paper, fabric, or wood. For beginners, canvas is an excellent choice. It comes in various forms like stretched canvas, canvas roll, canvas pad, and canvas board. Take anything but not canvas roll as they are expensive and mostly used by artist who are doing full time painting.
Canvas is the best choice if you are starting to paint. Canvas is available in various forms like stretched canvas, canvas roll, canvas pad, and canvas board. Avoid using canvas primed for oil painting, as it is not suitable for acrylics.
4. Variety of brushes
Having a variety of brushes is essential for different painting purposes. Large brushes are ideal for filling large areas, while smaller brushes are suitable for detailed work and blending. Liner brushes can be used for intricate detailing. That is why it's important to have round and flat brushes in various sizes.
It is important to wash your brushes using gentle soap and water following every painting session. Dried paint is practically impossible to remove from brushes.
Always keep your brushes from sitting for long hours in water bcoz they will ruin them. Always put the brushes with the bristles facing up to maintain their shape.
5. Always have two jars of water
It is important to have two jars of water—one for cleaning brushes and the other for diluting your paint. Opt for larger containers like mason jars for easier brush cleaning.
6. Choose the right location to paint
When the workspace and location are right, you feel energetic and creative and are in a good mood to create. Organize your light source along with your canvas so the light is enough for the canvas and does not come from you.
Easy Acrylic Painting for Beginners, Steps by Step
1. Determine your painting focus
As a beginner, choose an easy subject to paint. There is no point in choosing a challenging topic, even though it may look tempting.
Take a moment to clarify your artistic intention. On a piece of paper, plan the composition of your painting while keeping your focus in mind. Finding the best composition for you may take a few small sketches.
2. Create a composition
Creating a composition is crucial, even if you still need a reference photo. Sketch rough outlines of where you want to place objects and elements in your painting. Following the rule of thirds helps create a visually appealing and balanced composition.If you are using a reference photo, remember to replicate it sparingly. Make size, placement, and color changes to suit your artistic vision. You can edit and adjust elements to achieve a well-balanced and captivating composition that is uniquely yours.
3. Paint the toned ground first
Avoid starting on a blank white canvas, as it may not be visually appealing. Experiment with different background colors and techniques to create an exciting foundation for your painting. You can stick to one painting technique or apply multiple techniques as required.
4. Draw the design
Before you apply paint, drawing a preliminary design on your canvas is helpful. This will serve as a reference and guide for your painting. Drawing the design beforehand ensures a better composition and prevents guesswork while painting.Value sketches can also help plan your painting, allowing you to establish light and dark areas. Stick to a specific color scheme and begin by painting those areas first.
5. Paint the middle values first
When you're happy with the composition, fill out a rough form of the focus of your painting with all the center values for this object.6. Work quickly to avoid the paint from drying out
As you start painting, work quickly, as acrylic paint dries faster than oil paint. Begin with small amounts of paint to avoid wastage. Use a fine mist spray bottle to keep the paint on your palette moist to prevent it from drying out. Spritz the paint whenever you feel it's starting to dry.7. Use fine liners to do detailing
They allow you to add intricate details and refine the elements in your painting. Take breaks periodically to step back and evaluate your progress. Does the overall composition make sense? Do the selected colors complement each other? Make adjustments and changes as necessary to achieve the desired visual impact.
When you're happy with the color composition, continue filling in other areas. Begin with the lighter values and subsequently proceed into the darker ones.
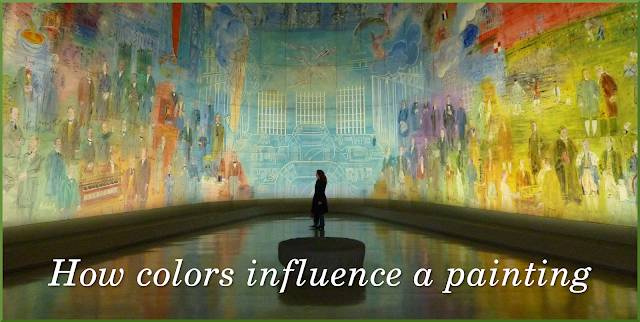
8. See how colors influence a painting
The choice of colors plays a significant role in bringing the picture to life when creating art. Hence, it's essential to understand color theory and how different colors interact before applying color.
This knowledge will help you set the mood and create the desired atmosphere in your painting. Experiment with color combinations and observe how they influence your artwork's overall look and feel.
9. Step Back from the painting frequently
Remember to step back frequently throughout the painting process and view your artwork from a few feet away. This allows you to gain a better perspective and assess the values and areas that may require adjustments.It's helpful to take breaks, as they provide fresh eyes and renewed inspiration.
10. Paint the Highlights Last
When adding highlights, save them for the final stages of your painting. Highlights don't have to be pure white; they can be a lighter shade of the prominent color of the object.
Adding highlights adds depth and dimension to your artwork.
11. Tell a Story on Canvas
To remind yourself of this narrative you're attempting to portray, choosing a name for the painting is a fantastic idea. Write this name and keep it in front of you.The goal shouldn't be to represent something but to tell a narrative and communicate feelings. Check this Acrylic Painting tips article to escape common mistakes beginners make.


